
Gapping, which refers to the separation between the edges of flooring pieces, is a common complaint from wood floor owners. These gaps are unattractive, attract dirt and, if the boards start to curl or cup, they can also pose a tripping hazard. If the floorboards have been installed on the joists directly, the gaps can also make a room feel drafty, which will cause your heater to work harder and drive up your energy bills.
Learn what causes gapping in wood floors and how to prevent wood floors from separating when it comes time to install your flooring.
Causes of Gaps in Hardwood Floors
First of all, keep in mind that not all gapping is considered a problem. Whether it’s an issue depends on the width of your planks, the type of wood used, the room’s size and the intensity and duration of the cold season, hence the intensity of heating required.
Generally speaking, gaps in a wood floor are normal for boards up to 2¼ inches wide if the gaps close during more humid times of the year. Normal gaps can vary in width, ranging from hairline gaps to the thickness of a quarter. You can expect larger gaps in regions with longer dry heating seasons and milder summers where air conditioning is not really needed.
Below are the most common causes of gapping in wood floors:
1. Improper Spacing During Installation
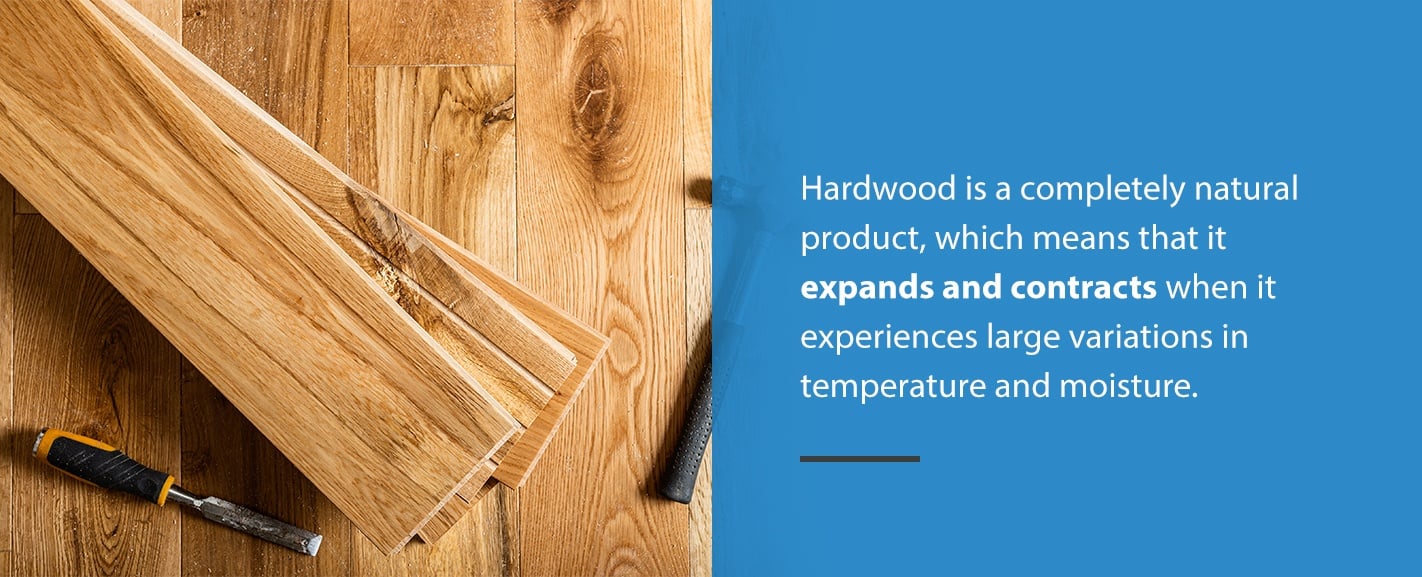
Hardwood is a completely natural product, which means that it expands and contracts when it experiences large variations in temperature and moisture. Generally speaking, when temperatures and air moisture content are high, wooden boards will absorb the moisture and expand. Conversely, when the surrounding air becomes cooler and drier, the boards will contract.
When wood floorboards are installed, the changes in moisture and temperature that the boards will experience must be taken into account. If the boards are installed too close to each other during a drier, colder time of year, when they expand during a wetter, warm time of the year, they will not have room to expand and may bow or cup. They may expand even more if they absorb moisture from a subfloor without adequate damp proofing. Conversely, if boards are installed with a slight gap during a warmer, wetter time of year, that gap may become too wide when the boards begin to contract when the weather becomes colder and drier.
View Hardwood Flooring Care Guide
2. Failure to Acclimate Floorboards Before Installation
Boards can also separate and develop gaps if they’re not properly acclimated before installation. Acclimation is the process of preparing the wood for the new conditions where it will be installed. If done properly, the wood boards won’t expand or contract excessively from the ambient conditions after they have been fitted.
3. Improper Fitting
Once the boards have been acclimated, it’s also important to install them properly. If they aren’t installed to fit the neighboring boards snugly, they’ll most likely separate and gaps will eventually form. If you are unsure of how to install wood floorboards, don’t hesitate to contact a professional.
Flooring and Carpet Installation
Three Tips for Preventing Gapping in Wood Floors
To control wood floor gaps, there are several options:
1. Preparation of the Hardwoods
After cutting a hardwood plank to the proper dimensions, its surface will then be prepared, which will enhance its appearance and protect it from potential damage. Hardwood can be finished with dyes, colorants, glazes, stains, sealers, wood fillers, primers, toners and shade coats, all of which will produce different appearances and bring out the natural components of the hardwood.
The finish you put on the hardwood will also control how much moisture the wood absorbs and releases into the air in your home. Therefore, it is important to apply the finish with efficiency and skill.
2. Acclimating the Hardwood
You should also allow the temperature and humidity of the hardwood to match that of your home. If equilibrium is not achieved between the wood and the surrounding atmosphere, some problems may occur after the installation. If the hardwood has a higher moisture content than that of the subfloor, it might contract after installation and shrink, leaving gaps. If the hardwood is dryer than your home’s atmosphere, it may expand, leading to buckling and exerting pressure on the outside border of the flooring.
To acclimate your flooring, follow the steps below:
- Store the wood in the room where it will be installed.
- During storage and installation, set your HVAC to temperatures that are consistent with your normal routine.
- To speed up the acclimation process, stack the wood boards in a log cabin formation to allow for more airflow.
- Acclimate the wood for a minimum of seven to 10 days. However, keep in mind that the recommended duration of the acclimation may change depending on the time of year, the local weather conditions and your home’s tightness.
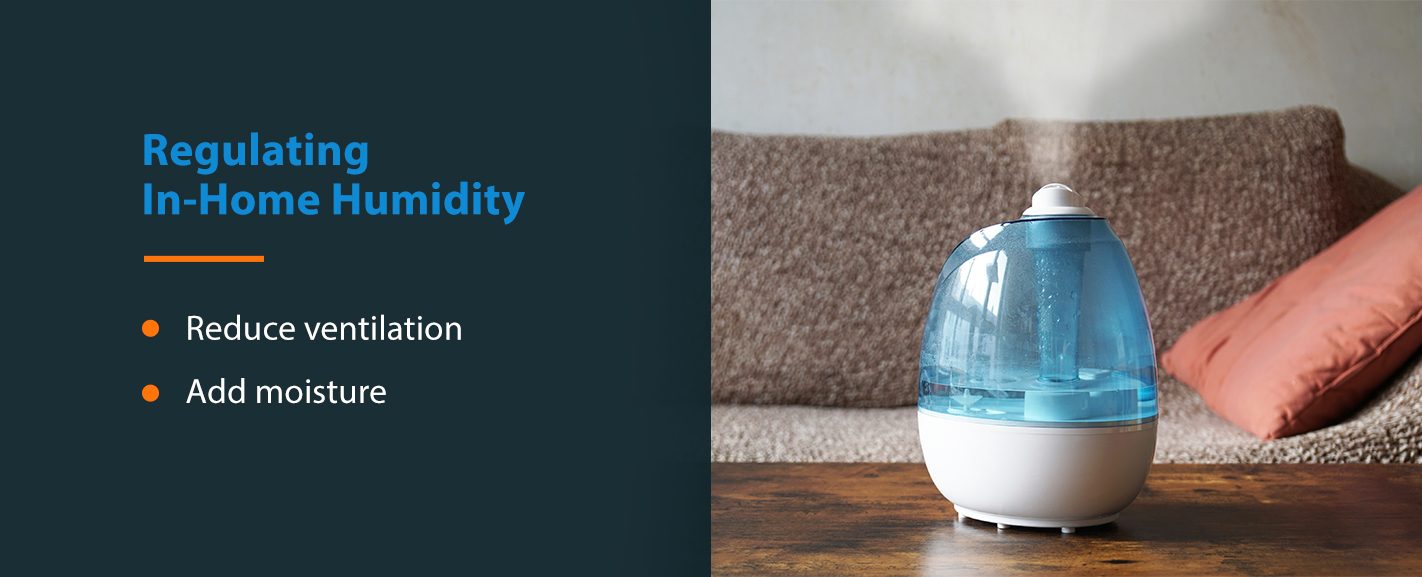
3. Regulating In-Home Humidity
The humidity levels in your house are the main factor that affects the contraction and expansion of the hardwood. Try to keep the humidity as consistent as possible to reduce the amount of expansion and contraction after the installation.
Below are some tips to create an appropriate environment for installing your hardwood floor and prolonging its lifespan:
- Reduce ventilation: When air from outside travels into your home via ventilation channels, the air heats up and loses its relative humidity as a result. In essence, the relative humidity goes down, which calls for your home to be weatherized by sealing cracks around windows and doors.
- Add moisture: It’s recommended that you keep your home between 35 and 55% humidity, which you can often achieve with the help of a humidifier. Residential humidifying systems can generally produce sufficient moisture to keep your home’s relative humidity within this range.
Keeping these pointers in mind will help your installation go more smoothly, lower the chance of your wood boards contracting or expanding after the installation and maximize your hardwood flooring’s lifespan.
Schedule an Appointment With 50Floor
If you want durable, high-quality flooring that matches your style and budget, it is critical to pick the right flooring company. At 50Floor, we provide a better experience when picking out flooring. We offer a free in-home consultation so you can see exactly what the floors you’re considering will look like against your other decor. You also have access to valuable advice from a flooring professional, who can help you decide what flooring is best for your home. Book your free consultation today!
Frequently Asked Questions
How Do Gaps Form in Hardwood Floors?
Hardwood floors are prone to developing gaps over time due to the natural properties of wood. These gaps occur because wood constantly expands and contracts in response to changes in temperature and humidity. Here’s a closer look at the process:
- Temperature Fluctuations: During hot weather, wood tends to lose moisture, causing it to shrink. As the planks contract, small gaps can appear between them.
- Moisture Levels: When the air is humid or when water seeps into the wood, the material absorbs moisture and swells. This swelling puts pressure on adjacent planks, which can lead to buckling or even breaking in extreme cases.
- Cyclic Changes: Over the seasons, this cycle of expanding and contracting repeats, gradually widening any existing gaps and potentially creating new ones.
Understanding these dynamics can help homeowners take preventive measures, such as maintaining consistent indoor humidity levels, to minimize the formation of gaps in hardwood flooring.
The Impact of Outdoor Weather Conditions
Outdoor weather conditions play a significant role in influencing indoor environments, which in turn affects hardwood flooring. Extreme fluctuations in temperature and humidity outside can lead to corresponding changes indoors. This can exacerbate the natural tendency of wood to expand and contract, contributing to the formation of gaps.
To combat this, it is essential to manage indoor climate by using tools like humidifiers or dehumidifiers, especially during seasons with extreme weather. Keeping indoor conditions stable helps protect your floors from the adverse effects of outdoor weather changes, ensuring they remain beautiful and gap-free for years to come.
Steps to Assess Gaps in Hardwood Floors
Understand Wood Movement
First, recognize that gaps in hardwood floors are common due to natural wood movements. When wood loses moisture on hot days, it tends to shrink, and when it absorbs water, it swells and might even cause planks to chip or break.
Evaluate the Gaps
Begin by examining the size and impact of the gaps. Small gaps are generally harmless, but if you notice that items frequently get stuck or the gaps are significantly large, it is time to address the issue.
Monitor Environmental Conditions
If gaps appear during extremely dry or humid periods, you might want to wait a few days. Environmental changes can cause the gaps to expand or contract, and they may resolve on their own.
Decide on Permanent Solutions
If the gaps persist regardless of weather changes, it is advisable to take definitive steps to fill them. This not only improves the floor’s appearance but also prevents further damage.
Following these steps, you’ll effectively assess and address the gaps in your hardwood floors.
When to Fix Gaps in Hardwood Floors?
Gaps in hardwood floors are common, but knowing when to address them is crucial for maintaining the beauty and longevity of your flooring. Here are some pointers to help you decide:
- Seasonal Gaps: Hardwood floors naturally expand and contract with changes in humidity and temperature. Minor gaps that appear in winter and close up in summer are usually not a cause for concern. If gaps persist throughout the year, it’s time to take action.
- Width of Gaps: Small gaps (less than the width of a dime) can be monitored, but wider gaps might indicate underlying issues. If you can easily fit a coin into the gap, it’s a sign you should repair it.
- Age of the Floor: Older floors are more likely to have gaps due to long-term wear and tear. If your floor is several decades old, consider fixing any gaps to prevent further damage.
- Level of Foot Traffic: High-traffic areas are subjected to more wear and tear. Gaps in these areas can worsen quickly, so it’s better to address them sooner rather than later to avoid tripping hazards and damage.
- Visible Damage: If gaps come accompanied by other signs of damage like splintering, warping, or water damage, it’s a clear indicator you need to fix them immediately.
Checking for gaps should be part of your regular maintenance routine. When in doubt, consult a professional to evaluate whether repairs or a replacement are necessary. By addressing gaps promptly, you’ll keep your hardwood floors in pristine condition for years to come.
When Should You Consider Replacing Your Entire Hardwood Floor Due to Gaps?
Gaps in hardwood flooring are often a cause for concern, but not every gap warrants a complete floor replacement. Here’s how to determine if those gaps signal a need for a new floor.
Understanding the Impact of Gaps
Gaps in your hardwood floors can potentially affect the structural integrity of your home. If these gaps are left unaddressed, they may lead to uneven support and compromise the stability of the flooring structure over time. It’s crucial to assess the severity of the gaps to determine the appropriate course of action.
Minor Gaps: Cosmetic Issues
If the gaps between your floorboards are minor and do not affect the structural integrity of the floor, repairing individual boards may be sufficient. These small gaps are usually cosmetic issues and can be easily fixed without the need for a full replacement.
Major Issues: Structural Integrity at Risk
However, if the gaps are significant enough to threaten the stability of your home or if the floor has started to warp, it’s time to consider replacing the entire floor. Large gaps can lead to loose boards, which can be a safety hazard and diminish the overall strength of the flooring.
Cost-Effectiveness: Repair vs. Replacement
Another crucial factor is the cost involved. If repairing the gaps and replacing individual boards ends up being more expensive or almost as costly as installing a new floor, opting for a complete replacement becomes the better financial decision.
Professional Assessment
To make an informed choice, it’s advisable to consult a flooring expert. A professional can assess the extent of the damage and provide a cost estimate, helping you choose between repair and replacement based on practicality and budget.
Consider a full floor replacement if the gaps compromise structural integrity, lead to warping, or if repair costs are too high. Always seek professional advice for the most accurate assessment of your flooring needs.
Effective Ways to Fix Gaps in Hardwood Floors
When it comes to resolving gaps in hardwood floors, several solutions are available, ranging from professional products to DIY approaches. Here’s a comprehensive look:
Versatile Wood Floor Gap Fillers
Wood floor gap fillers are a reliable option for addressing gaps of various sizes. These products come in different types, such as latex-based and epoxy-based formulations, allowing you to choose the right one for your floor. Designed to blend seamlessly with the wood’s color, they offer a discreet and durable fix. The application is straightforward, making this a popular choice for many homeowners.
Specialized Solutions for Vintage Floors
If you’re dealing with aged or antique wood floors, a more tailored method may be necessary. It’s often beneficial to use a custom-mixed wood filler that matches the unique hue and patina of older floors. This approach not only fills in gaps but also maintains the historical charm and character of your vintage hardwood.
DIY Fixes for Minor Gaps
For those who enjoy tackling home projects themselves, there are simple DIY solutions available for small gaps. Materials like wood putty or homemade mixtures can be effective for fast fixes. While these are cost-effective and easy to apply, it’s important to note that they may not be the best long-term solution, especially for larger or numerous gaps.
Additional Considerations
- Humidity Control: Managing indoor humidity can prevent gaps from forming in the first place, as wood expands and contracts with moisture levels.
- Professional Help: For significant gaps or if your floors are particularly valuable, seeking the expertise of a flooring professional is advisable.
- Regular Maintenance: Consistent care and maintenance can extend the life of your repair and keep your floors looking pristine.
By understanding the different methods available, you can choose the best solution to keep your hardwood floors looking their best.
The Benefits of Engineered Hardwood Flooring in Preventing Gaps
When it comes to maintaining a flawless floor, engineered hardwood flooring offers several advantages in preventing gaps.
Firstly, engineered hardwood is built with a plywood base. This layered construction significantly boosts its stability compared to traditional hardwood floors. The plywood layers are arranged in a way that mitigates the wood’s natural tendency to expand and contract with changes in temperature and humidity.
Because of this structure, engineered hardwood is less prone to developing gaps over time. Traditional solid hardwood floors can swell in high humidity and shrink in dry conditions, leading to unsightly gaps. Engineered hardwood’s resistance to such changes ensures a more consistent and visually appealing surface.
Considering the potential costs of frequent repairs or floor replacements due to gap issues, investing in engineered hardwood can be a more economical choice in the long run. This flooring option combines durability with aesthetic appeal, giving you both beauty and function without the headache of constant maintenance.
Opting for engineered hardwood flooring can help you prevent the persistent problem of floor gaps, providing you with a stable, long-lasting, and attractive flooring solution.