


We often think of moisture damage to floors as a condition that occurs after a flood, a burst pipe or leak in the roof. However, moisture damage can also occur due to high moisture levels in your subfloor. After selecting the flooring that will look just right for your home, the last thing you need is damage resulting from a subfloor that’s too wet.
By testing for moisture beforehand, you can take precautions to prevent damage. If your floor is too wet, a dehumidifier and fans can help you dry out a concrete slab or plywood subfloor to ensure the best conditions for installation.
Why Should You Test for Moisture Before Installing Flooring?
If your subfloor is too wet, you may experience damage or imperfections when installing a floor covering. The moisture levels in your home can also impact the installation procedure or types of flooring you use.
Moisture Issues for Different Types of Flooring Materials
What can go wrong if your subfloor is too wet? Depending on the material you use, your flooring can experience various types of water damage. Generally, the less moisture-resistant, the more susceptible to damage. Consider how moisture can affect your chosen flooring material:
-
-
- Hardwood floors: Wood is particularly vulnerable to moisture damage. Excess moisture in wood floors can lead to warping, buckling, crowning or cupping, causing the boards to peel away from the subfloor. Over time, your hardwood floor can become discolored.
- Tile: Moisture rising from the subfloor can break down the adhesive beneath the tiles. The tiles won’t be securely held in place, resulting in loose and shifting tiles. Besides damage to the floor, you might end up with musty odors or mold growth.
- Floating flooring systems: Materials such as laminate, luxury vinyl plank (LTV) and some wood or tile flooring do not use adhesive and instead lock into place above the subfloor. Usually, this installation is preferred for conditions where moisture levels are a concern. They typically have a moisture barrier between the subfloor and the floating floor. However, if the underlayment becomes compromised, it can damage the flooring or its finish.
-
Why You Should Test a Plywood Subfloor
There’s no question — moisture is bad for wood. Besides the potential damage it can cause to a hardwood floor, it can also damage the subfloor. Placing flooring material above a moist plywood subfloor can trap moisture. The subfloor can weaken and begin to rot, causing your floor to become sunken or uneven. It can release a musty smell throughout your home and cause further damage to the floor covering. A weakened plywood subfloor can cause the hardwood to cup, linoleum to bubble and tiles to crack.
Plywood subfloors can generally handle any type of flooring material since they are less porous than concrete slabs. Still, testing plywood for moisture levels has increased importance for hardwood flooring. While unacceptable moisture levels can cause damage, the particular moisture level can change the installation process. Moisture causes hardwood to expand, which you can prevent with a process called acclimating. It involves allowing the boards to sit for seven to 10 days before installation. Acclimation is done to allow for the moisture content of the wood to adjust to the normal living conditions such as temperature and humidity.
Understanding the moisture content is extremely important for hardwood floors. It’s crucial to acclimate when the floorboards have a significantly different moisture content from the subfloor, and the subfloor is under 12% moisture. If the subfloor is above this moisture level, take steps to dry out the plywood before acclimating or installing the floorboards.
Why You Should Test a Concrete Slab Subfloor

If floor covering is installed when concrete is too wet, it can cause bubbles, blisters and delamination. Any excess water vapor will get trapped between the concrete slab and the floor. We recommend you choose a moisture-resistant flooring material when installing over concrete since many factors influence its moisture levels.
Before pouring cement, builders will mix it with excess water meant to dry out over time. As the concrete hardens, water ensures it stays hydrated throughout the curing process. Once the hardening is complete, it will begin to dry out, and large amounts of water will evaporate into the air. The temperature conditions and the difference in the vapor pressure between the slab and the surrounding air both influence this drying process. Eventually, the concrete can dry out to an acceptable level for installation.
Still, concrete is porous and can dry unevenly. Even after it hardens and dries out, its moisture levels can change with the temperature and humidity.
With so many variables at play, it’s crucial to test the concrete slab’s moisture levels, whether it was poured recently or years ago. To install your floor without issues, ensure equilibrium between the moisture levels in the concrete and the surrounding air.
How Are Moisture Tests Conducted?
Many moisture tests can be performed with the proper tools. If you’re interested in checking your moisture levels, speak with your flooring installer to see which tests are right for you.
How to Check Moisture Content in Wooden Floors
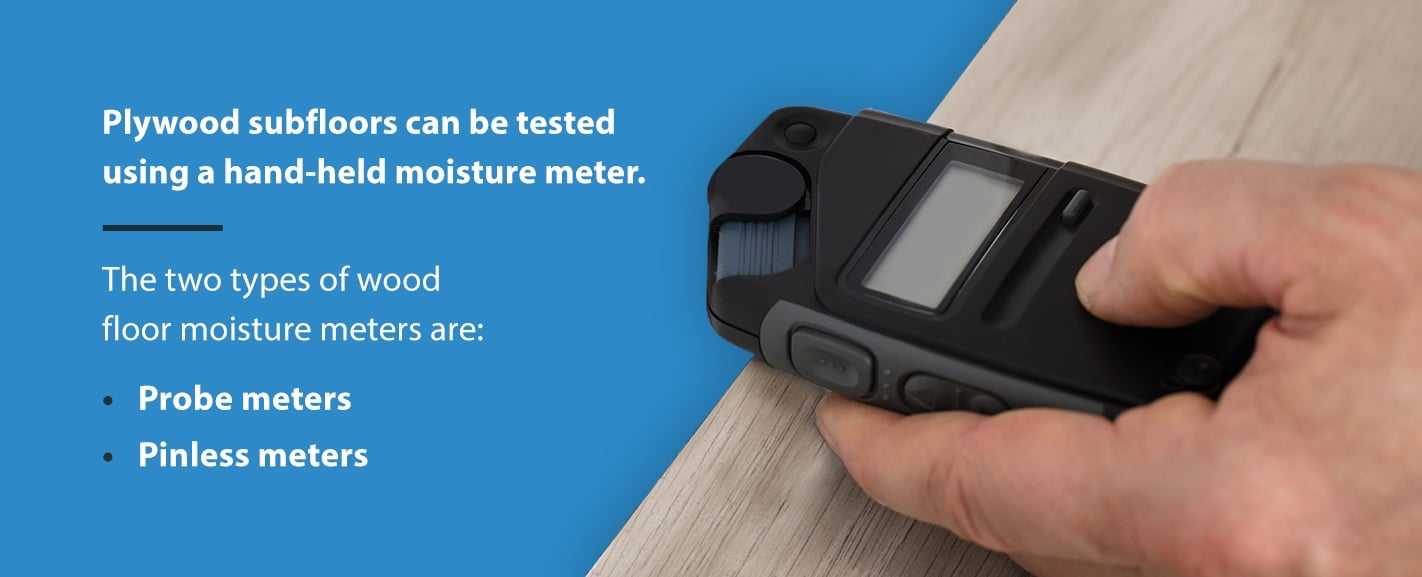
Plywood subfloors can be tested using a hand-held moisture meter. While you can buy your own, a professional flooring installer will likely have one on-hand. All types of meters should have a conversion chart or different settings to test different wood species. The two types of wood floor moisture meters are:
-
-
- Probe meters: A probe measures the electrical resistance across two sets of pins pushed into the wood. These meters can measure moisture levels throughout the board, depending on how far in you push the pins.
- Pinless meters: A dielectric meter will use a signal that penetrates at least one inch into the wood. It can identify moisture pockets and won’t damage varnish and other coatings.
-
If installing wooden floors, these meters can double as a hardwood floor moisture meter. To determine if your hardwood floors need to be acclimated, you can use a wood floor moisture test.
First, test the moisture level of the subfloor. In general, 12% moisture or above is too wet to install flooring. Ideally, it should be between 7% and 9%. Take the readings in at least 20 spots per 1,000 square feet of flooring and average the results. Next, check the moisture of new floorboards. Typically, the boards will be between 6% and 7% and may safely get up to around 10%. The acceptable range of moisture content in wood flooring is within 2% to 4% of your subfloor’s moisture level.
Here’s what you should do based on your results:
-
-
- If your subfloor is under 12% moisture and the floorboards are within range of the subfloor moisture reading, you can install the floor without acclimating.
- If your subfloor has less than 12% moisture and the floorboards are not within the acceptable range, acclimate the floorboards for seven to 10 days.
- If your subfloor is above 12% moisture, dry out the subfloor before installing hardwood floors.
-
How to Check Moisture Content in Concrete Floors
The American Society for Testing Materials (ASTM) has several standard tests for measuring moisture levels in a concrete slab. You can combine them to get the best read of your moisture conditions. The testing methods include:
-
-
- ASTM D 4263: The “plastic sheet method” involves taping a plastic sheet to the concrete. After three days, read the humidity under the plastic with a dew point hygrometer. To install flooring, you’ll need a humidity level below 80%. The conditions under the plastic should not feel or smell damp, and the slab shouldn’t look discolored.
- ASTM F 1869: This method uses anhydrous calcium chloride to measure moisture. You can find a DIY testing kit with all the tools you need to perform it from many hardware stores. You must take at least three tests per 1,000 square feet. First, create an enclosure for the concrete and place dry anhydrous calcium chloride in a container and weigh it. Leave it in the open air under the enclosure for three days and weigh it again. This test will indicate moisture levels expressed as pounds of water per 100 square feet per 24-hour period. Most flooring should not exceed 3 pounds of moisture transmission.
- ASTM F 2170: Another method is to use a moisture meter probe. A small hole is first drilled into a concrete slab, and a probe sealed in place. After three days, you can measure relative humidity levels within the slab itself. This method is helpful alongside either of the two surface-level tests. Understanding the moisture evaporation at the surface and the moisture below the surface can give you a complete picture of the moisture levels.
-
Schedule an Appointment With 50Floor Today
At 50Floor, we offer many attractive flooring materials, including hardwood, laminate, carpet, vinyl and luxury vinyl tile. We also provide a convenient in-home shopping experience, where you can compare different styles against your own lighting and decor. After all the effort you put into finding the perfect floor, we want it last for years to come. That’s why our installation process includes a thorough subfloor examination.
Schedule an in-home appointment to start comparing styles and discussing the conditions of your subfloor.