Schedule now
1-877-50-FLOOR1-877-503-5667 Schedule now

DON'T WAIT — Schedule your appointment today and SAVE!

Schedule Now
promo pointing
Tile Flooring Installation Process

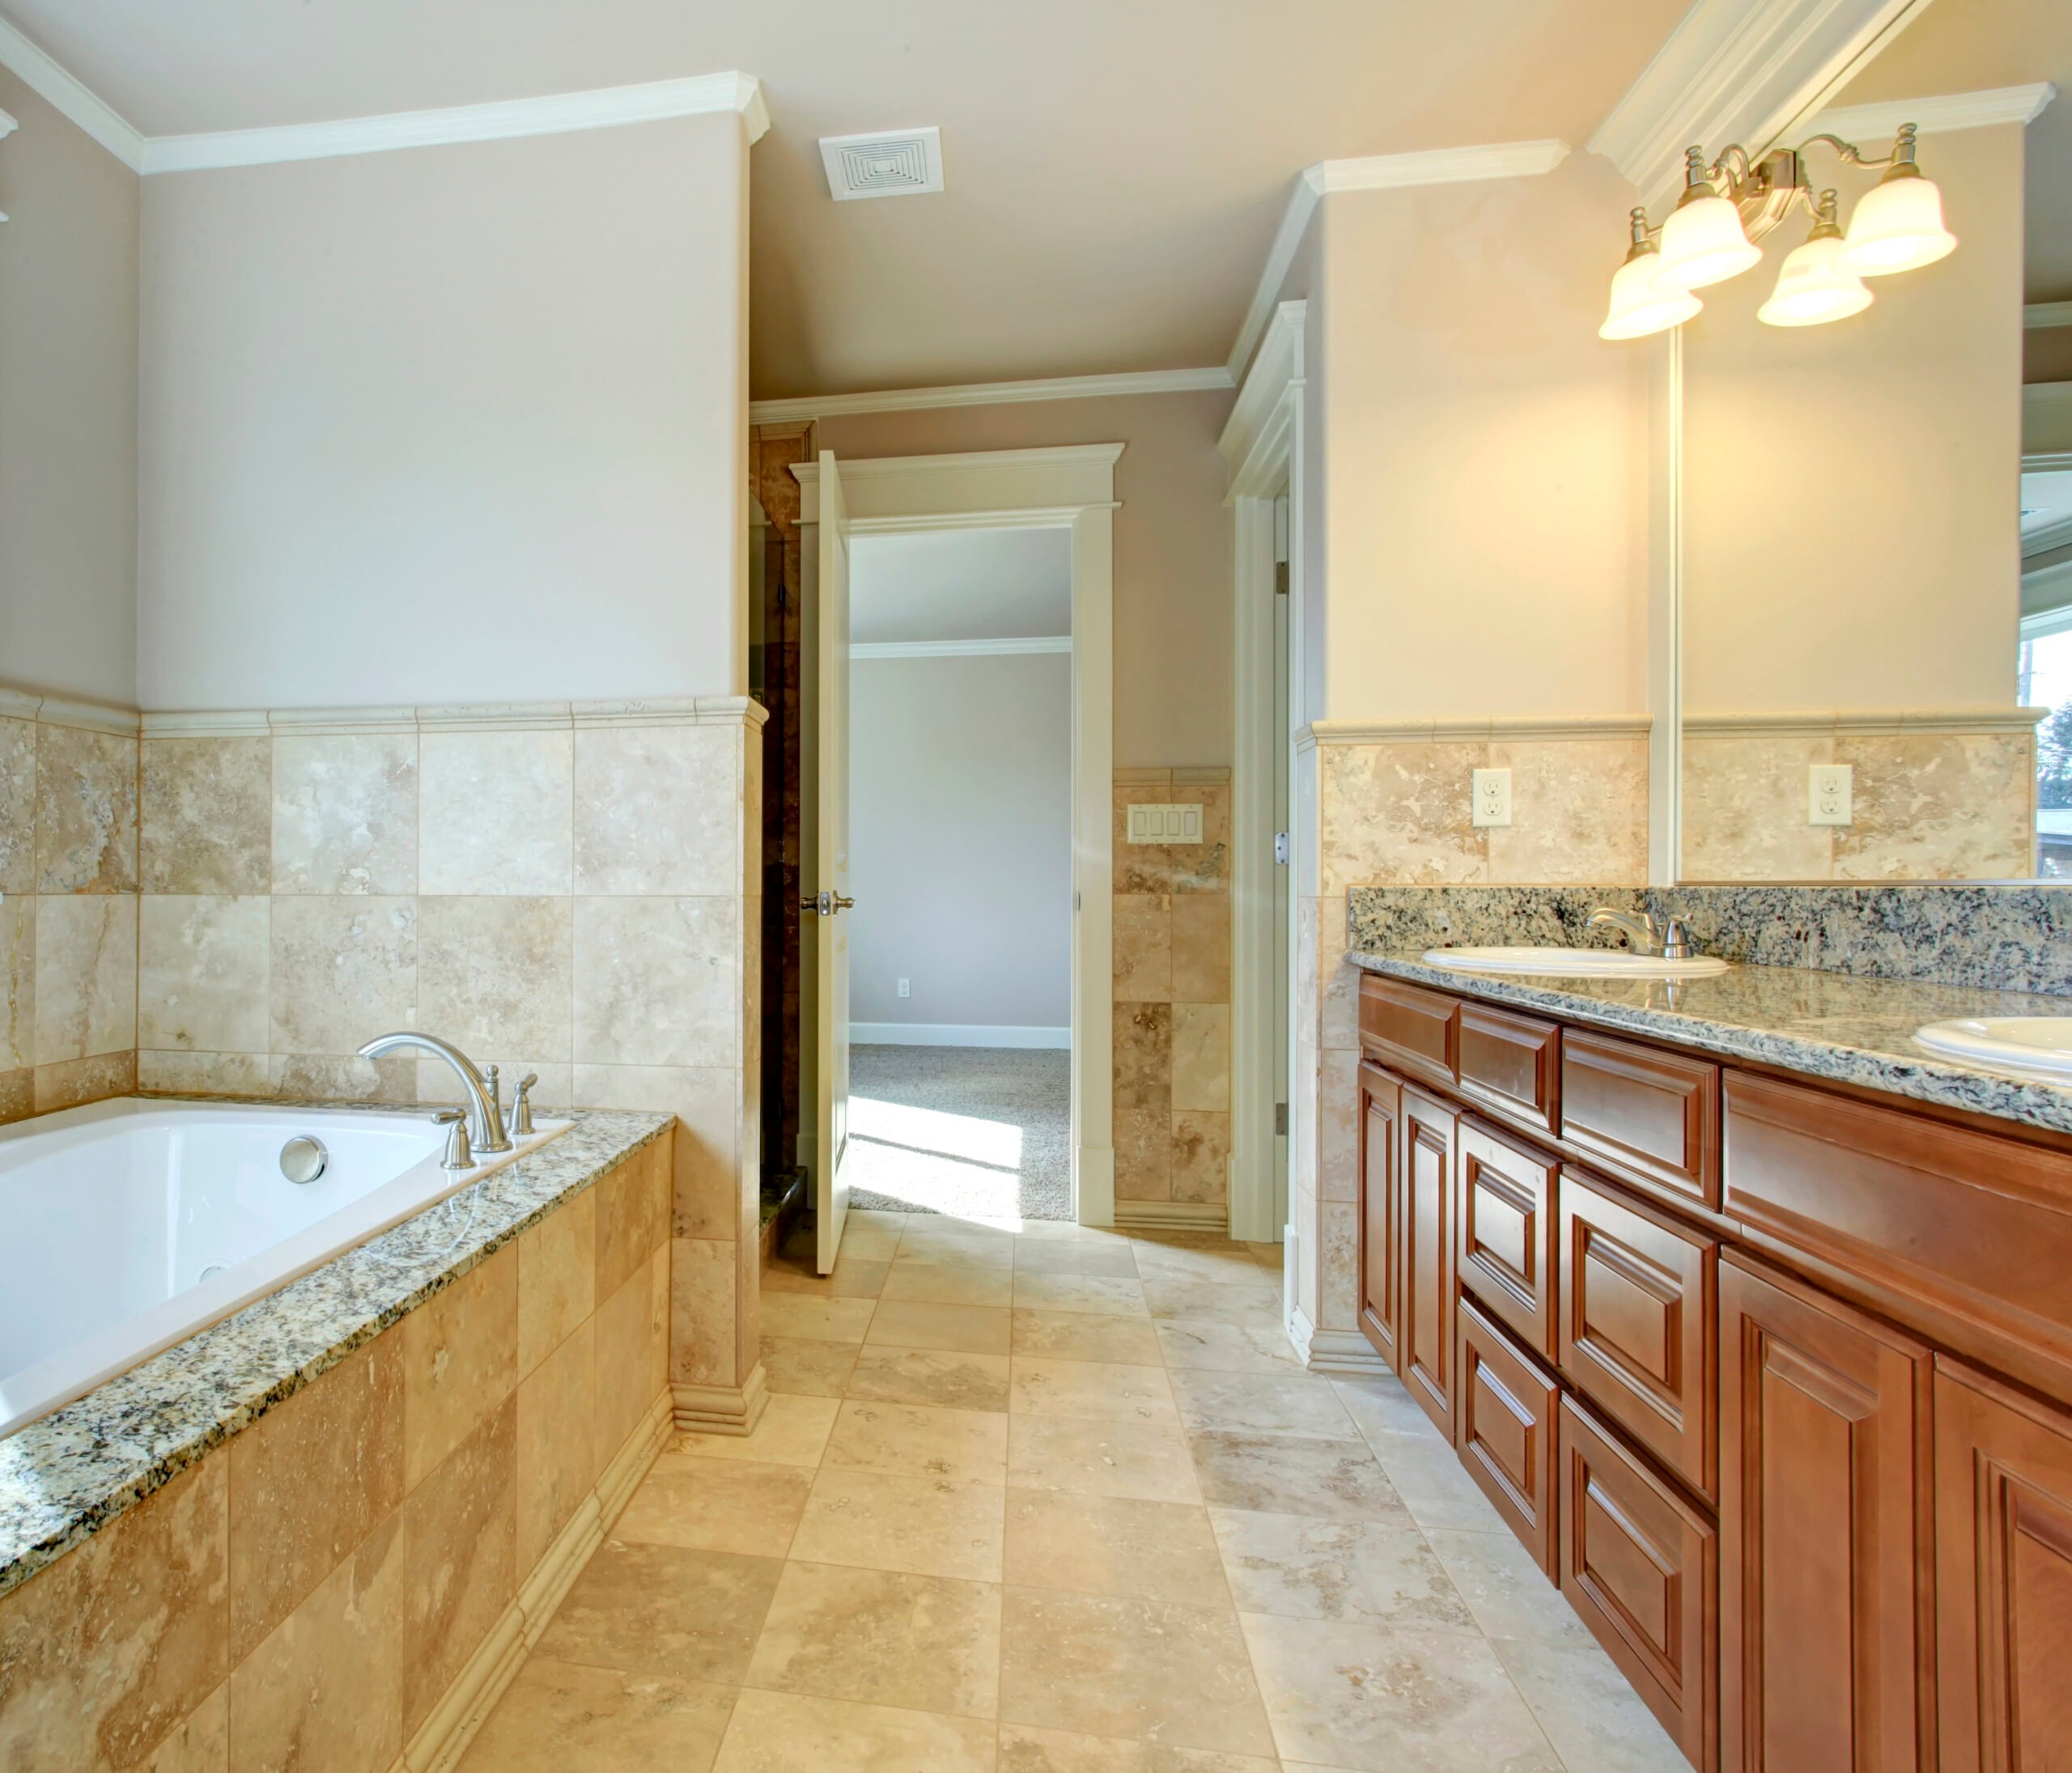
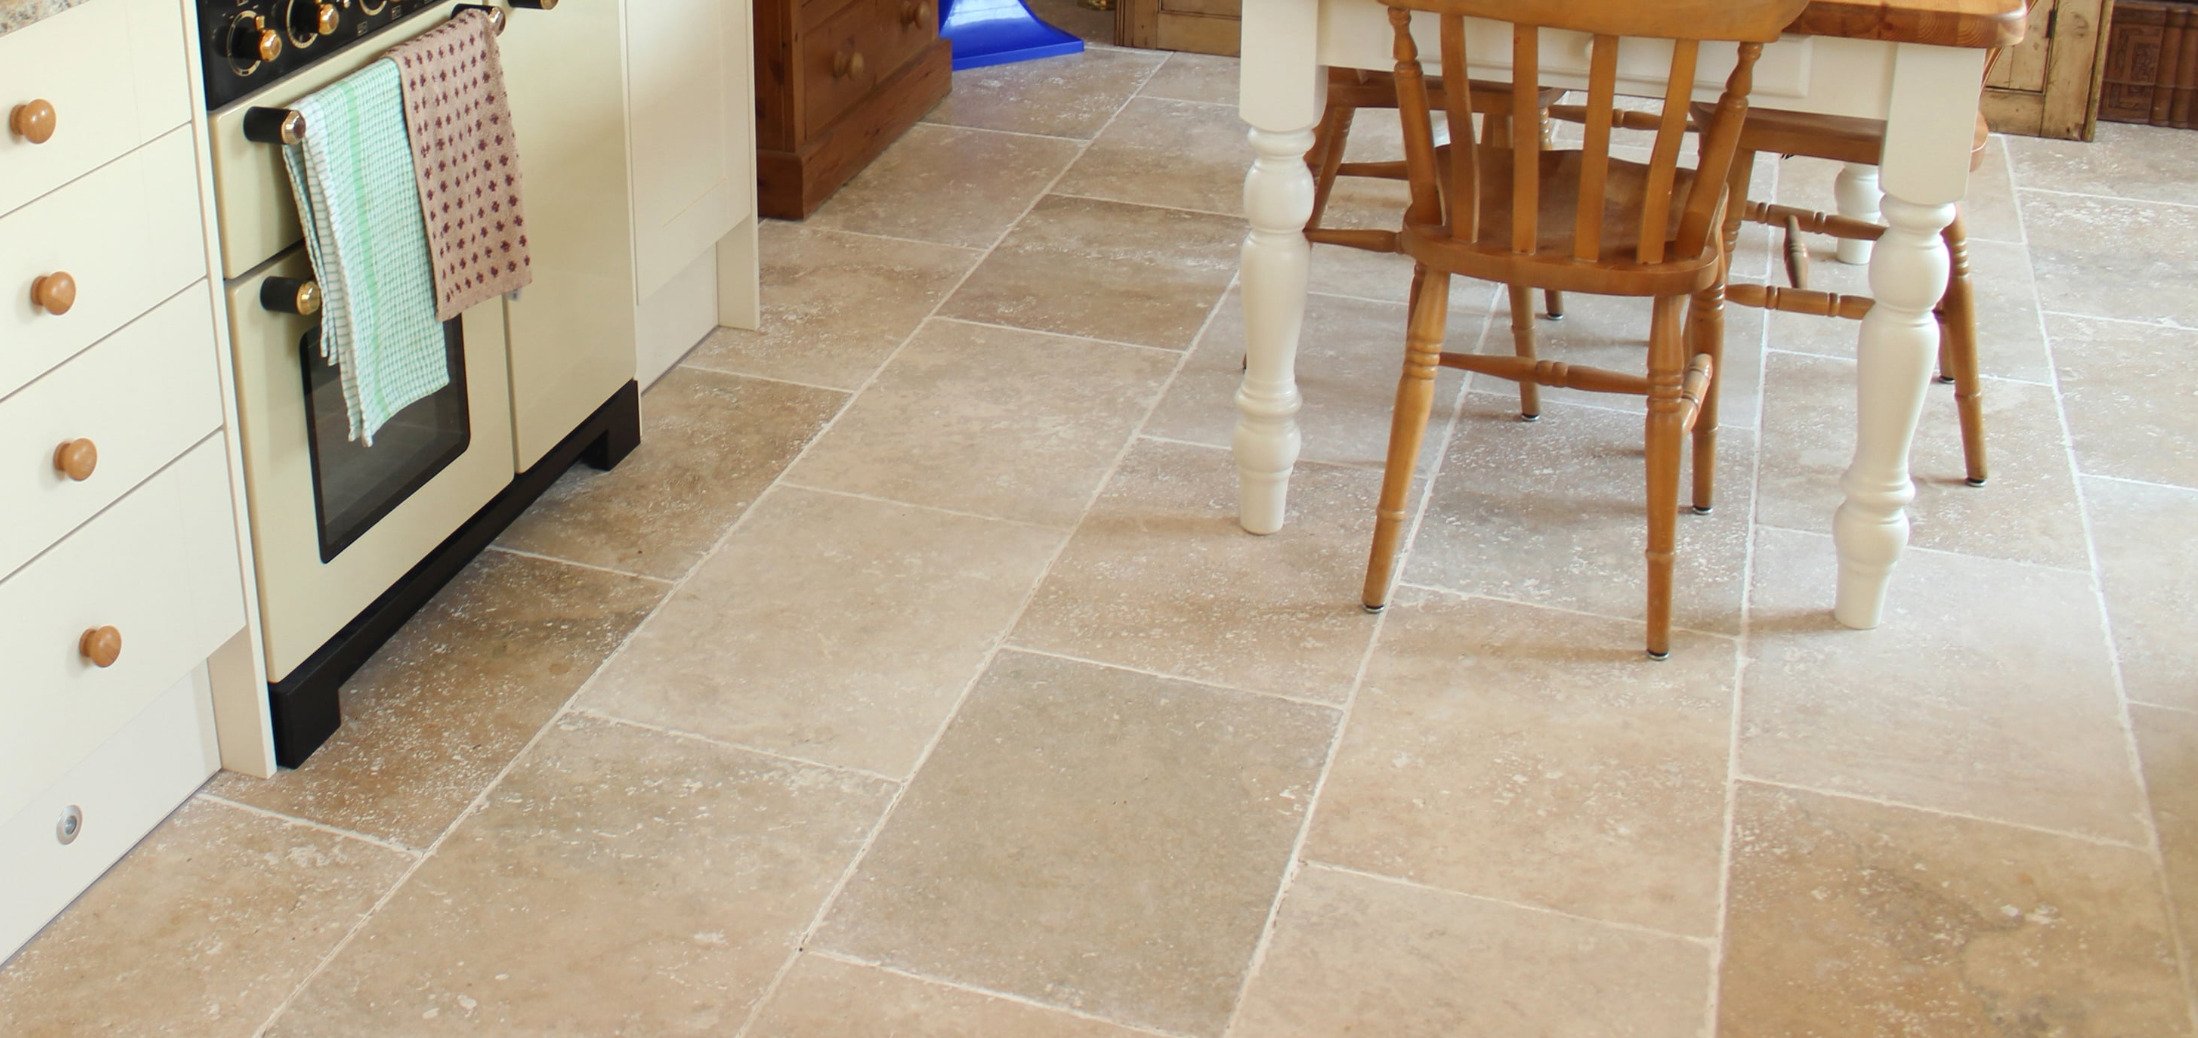
Tile is an excellent flooring choice for your home. As a popular option for kitchens and bathrooms, tile can support high traffic and withstand contact with water. It comes in many styles, colors and sizes, allowing you to find the type that best suits your home’s aesthetic.

50Floor can support your decision by providing installation services. Keep reading to learn what goes into tile installation and how you can prepare.

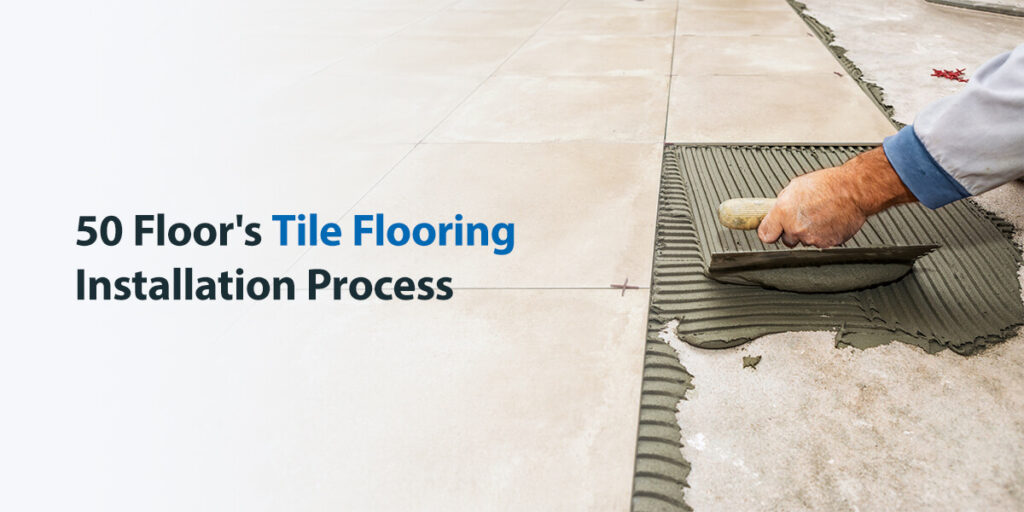
Tile Floor Installation Process

Installing a tile floor is a comprehensive process. 50Floor’s installation process starts before we even arrive — we call you 30 minutes prior because you must be present at the start and finish of projects. When 50Floor’s installation team comes, they will ask you to confirm your tile selection and application space to ensure they have the correct details to carry out your installation.

To smooth the process, our experts will help transport large pieces of furniture out of rooms. We will also assess subfloors and remove old flooring to provide the best results.

When it’s time to start laying down tiles, you can better prepare for tile installation by understanding the various steps, including:

  • Preparing and testing the mortar: The mortar bonds tiles to the subfloor or backboard, but it needs to be the right consistency for correct installation. Our installation team is made up of trained experts who understand how to mix mortar properly. When it’s ready, installers will test one tile by placing on the mortar and picking it up. If it comes back completely covered in mortar, the mix has the right quality.
  • Applying mortar and tiles: Installers will move in sections to prevent the mortar from drying before they can set all the tiles. Sectioning the workload can also ensure consistency throughout your spaces.
  • Leveling tiles: As installation teams set tiles, they need to ensure they are level. They can do so by placing a plywood plank over the tile’s surface and tapping it with a rubber mallet to lower high spots. This step helps create more consistency and reliability for your flooring solution.
  • Cutting edge tiles: At the edges of your rooms, you might have spaces where you need tile but can’t fit a full piece. Installers will use their tools to measure your remaining tiles and cut them to fit them into the available space.
  • Applying and curing grout: Grout fills the spaces between your tiles. Installation teams use tile spacers to leave room for the grout and will remove them at this point. Using a grout float, they’ll cover your tile’s surface with grout. The material needs a couple of days to cure, and your installers will return to wipe off excess grout from your tiles with a damp sponge.
  • Adding trims and moldings: Once the tile has set, you might still have some space between your walls and flooring. You can create a more seamless transition with trim and moldings.

When you can walk on the tile again, the installation team will bring the furniture back and clean any remaining debris. They’ll leave you with a maintenance pamphlet, so you can best preserve the tile’s quality.

Tile Floors in Bathroom

How Should I Prepare for Tile Flooring Installation?

While 50Floor handles every aspect of the installation process, your actions before arrival can create a prepared environment, so teams can jump right in. Some preparation strategies you can try include:

  • Establishing a layout: If you are using a patterned tile or pairing two types together, you might have a specific layout you want in your design. Before your installation day, you can print out scaled printouts with each tile design on them to help your team visualize how you want your layout. This system can also ensure you like the look of your tile layout and design before installation.
  • Ensuring floor strength: Tile is heavier than other flooring types, so your floor needs to be able to support it. Below your subfloors are your floor joists. This layer supports your flooring and consists of wooden panels spaced at different intervals. For tile flooring, you’ll want panels placed closer together with minimal space between them. Wider gaps create more bounce when walking, increasing the risk of tiles breaking or cracking. You can better prepare for your tile floor installation by checking that you have solid floor support.
  • Clearing rooms: 50Floor will help you transfer the furniture to other rooms in your home, but you should clear spaces of other items, like family photos, kitchenware and knickknacks. Removing these objects can also ensure they remain safe during the installation process. If you are doing a more comprehensive installation, you might consider renting a storage unit to keep furniture and personal belongings until completion.
  • Accommodating curing time: Tile has a longer installation time than other flooring types because it needs time for the grout to cure and set. During the curing period, people can’t walk on the tile. Whether you are doing several rooms or a small space, planning how to navigate your home or an alternative place to stay can preserve your new flooring’s quality.
Dark tile floors in master bathroom

What Factors Affect Tile Flooring Installation?

After arriving, 50Floor installation experts will assess your space to give you an accurate installation time estimate. Many factors can impact the time and the tools required to complete the installation process. Some aspects that affect your tile installation include the following:

  • Tile type: Depending on the tile type you select, the tile might need sealing. Most ceramic and porcelain models won’t need seals, but any unglazed types will. Knowing what your tile requires beforehand can help you better prepare for and understand the installation process.
  • Tile size: Your tile size will determine what tools your installers need. Larger tiles need a trowel with wide teeth to lay mortar correctly and effectively. As flooring experts, your installation team will know what tools and equipment they require.
  • Grout type: Depending on your grout size, they will need different treatments. Wider joints between tiles need sanding, while narrow joints can go unsanded. While installation teams can handle this process, understanding how your design can impact the operations and time required can help you better plan beforehand.
  • Subfloor conditions: Your subfloor is the layer between your flooring and joists that help further support your flooring. As part of the installation process, 50Floor teams will inspect your subfloors after removing your existing flooring, checking for cracks or unlevel portions. Some problems might require extensive repairs, while teams can sand down unlevel subfloors.
  • Existing floor type: Your current flooring will impact the time estimate. Carpet takes less time to remove than hardwood and tile.
Tile Flooring in Kitchen
Questions or Feedback
Beeswax Tracking